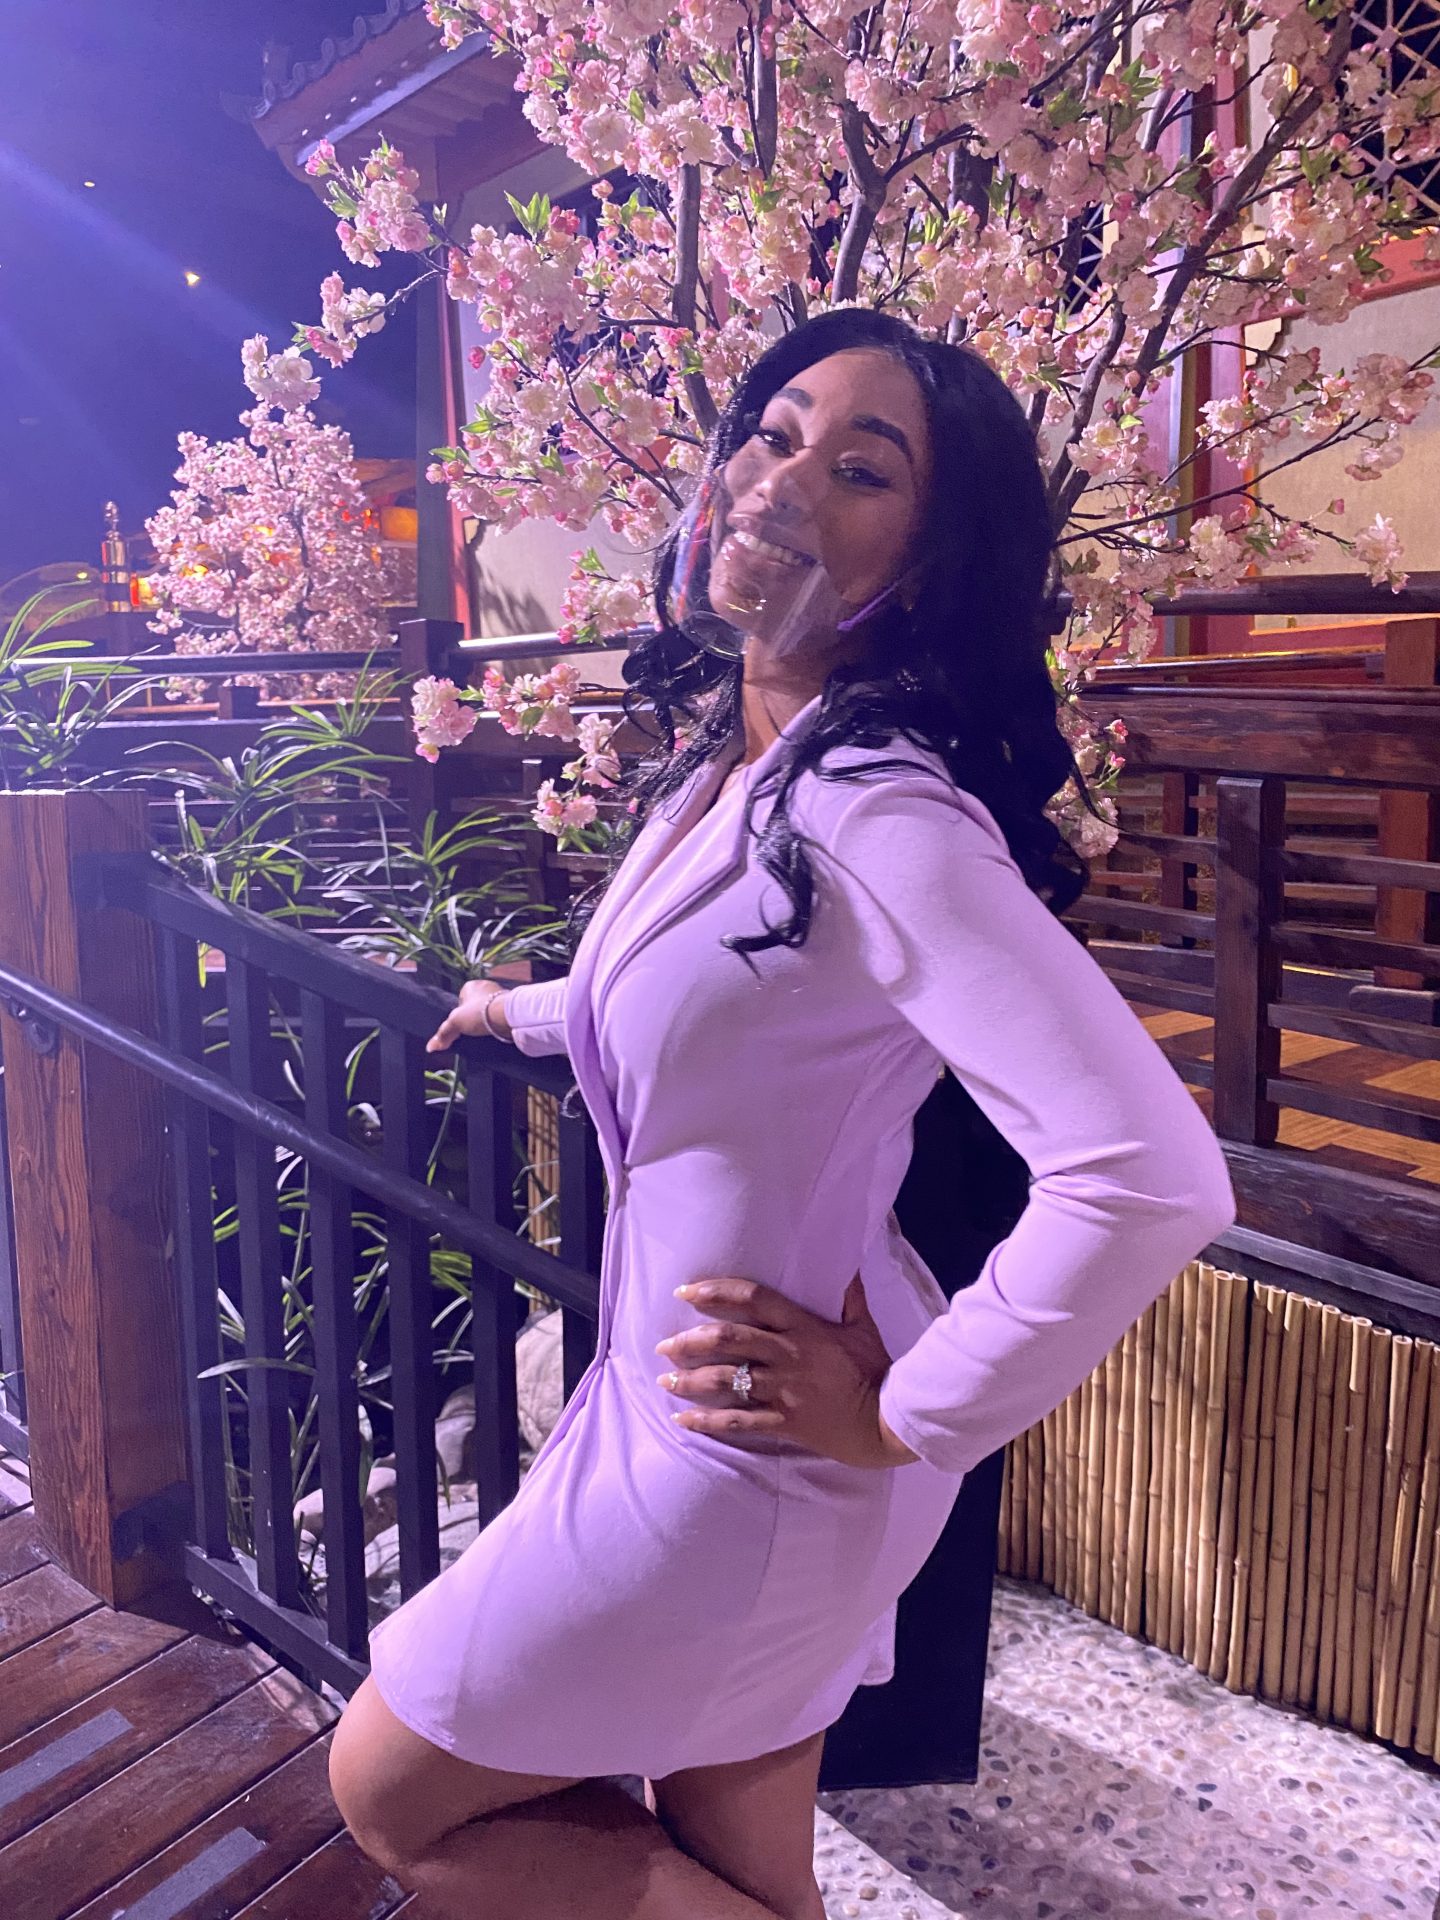
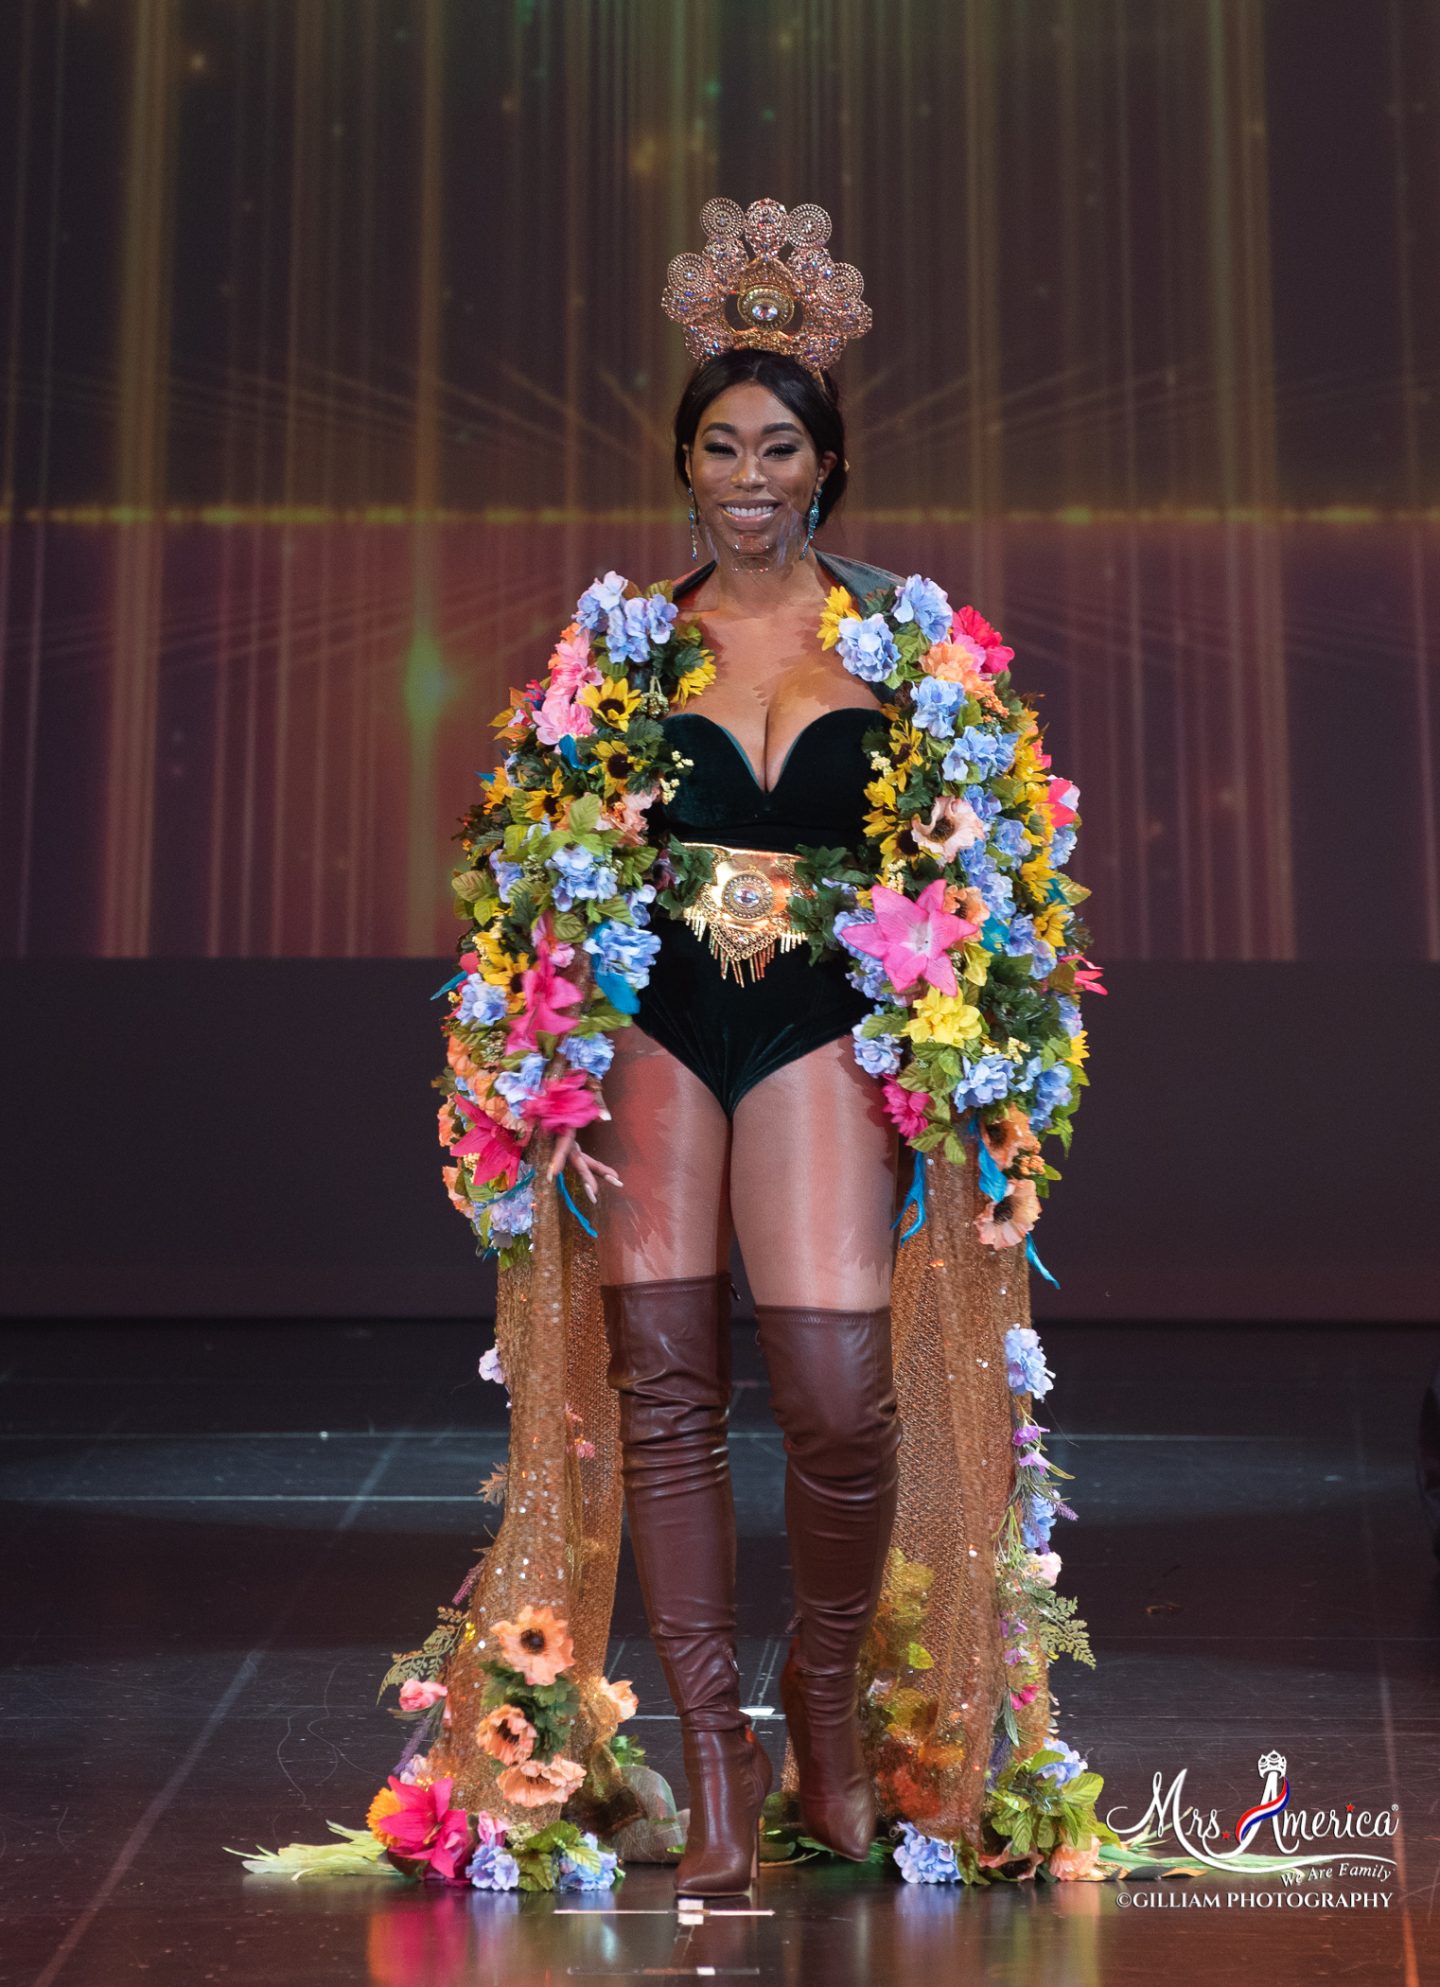
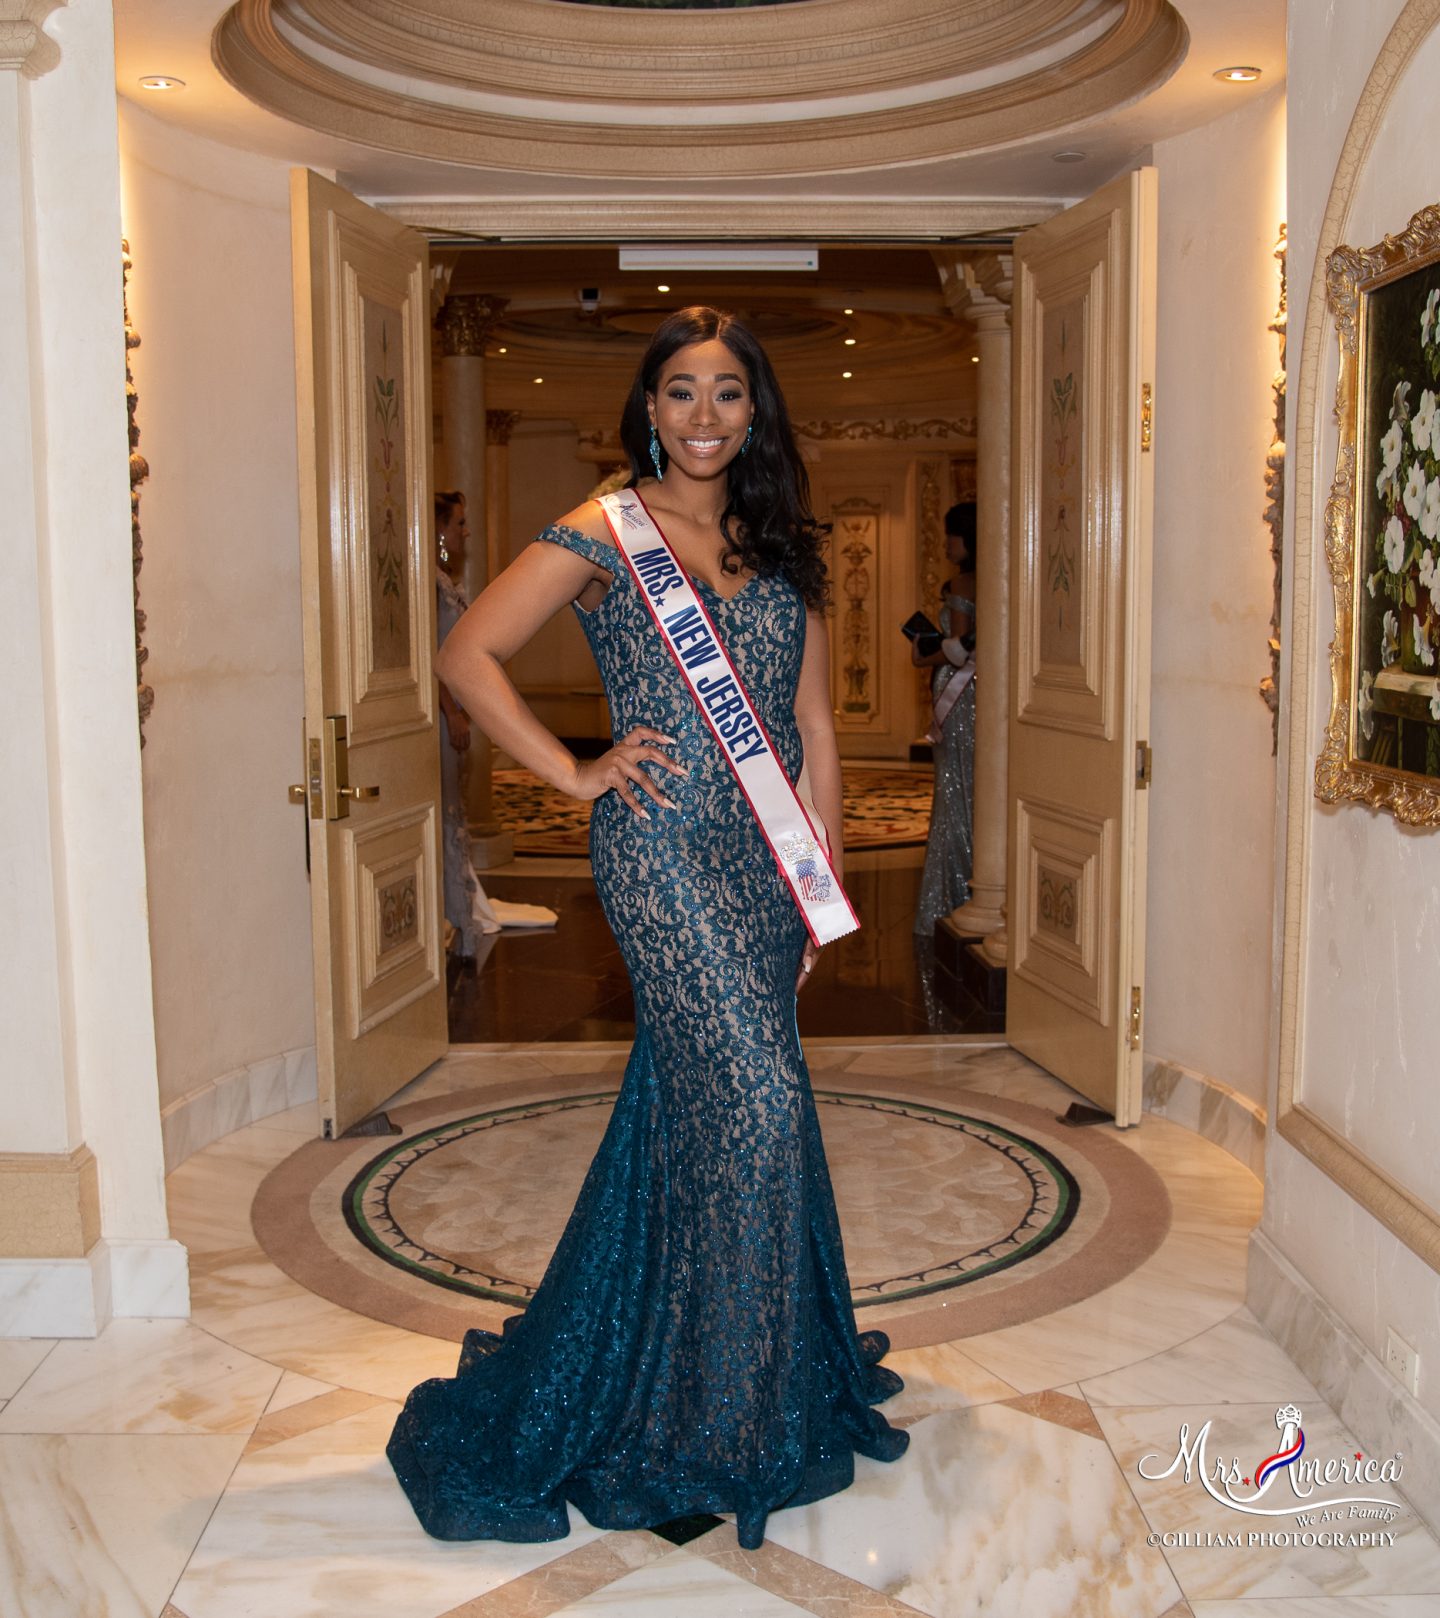
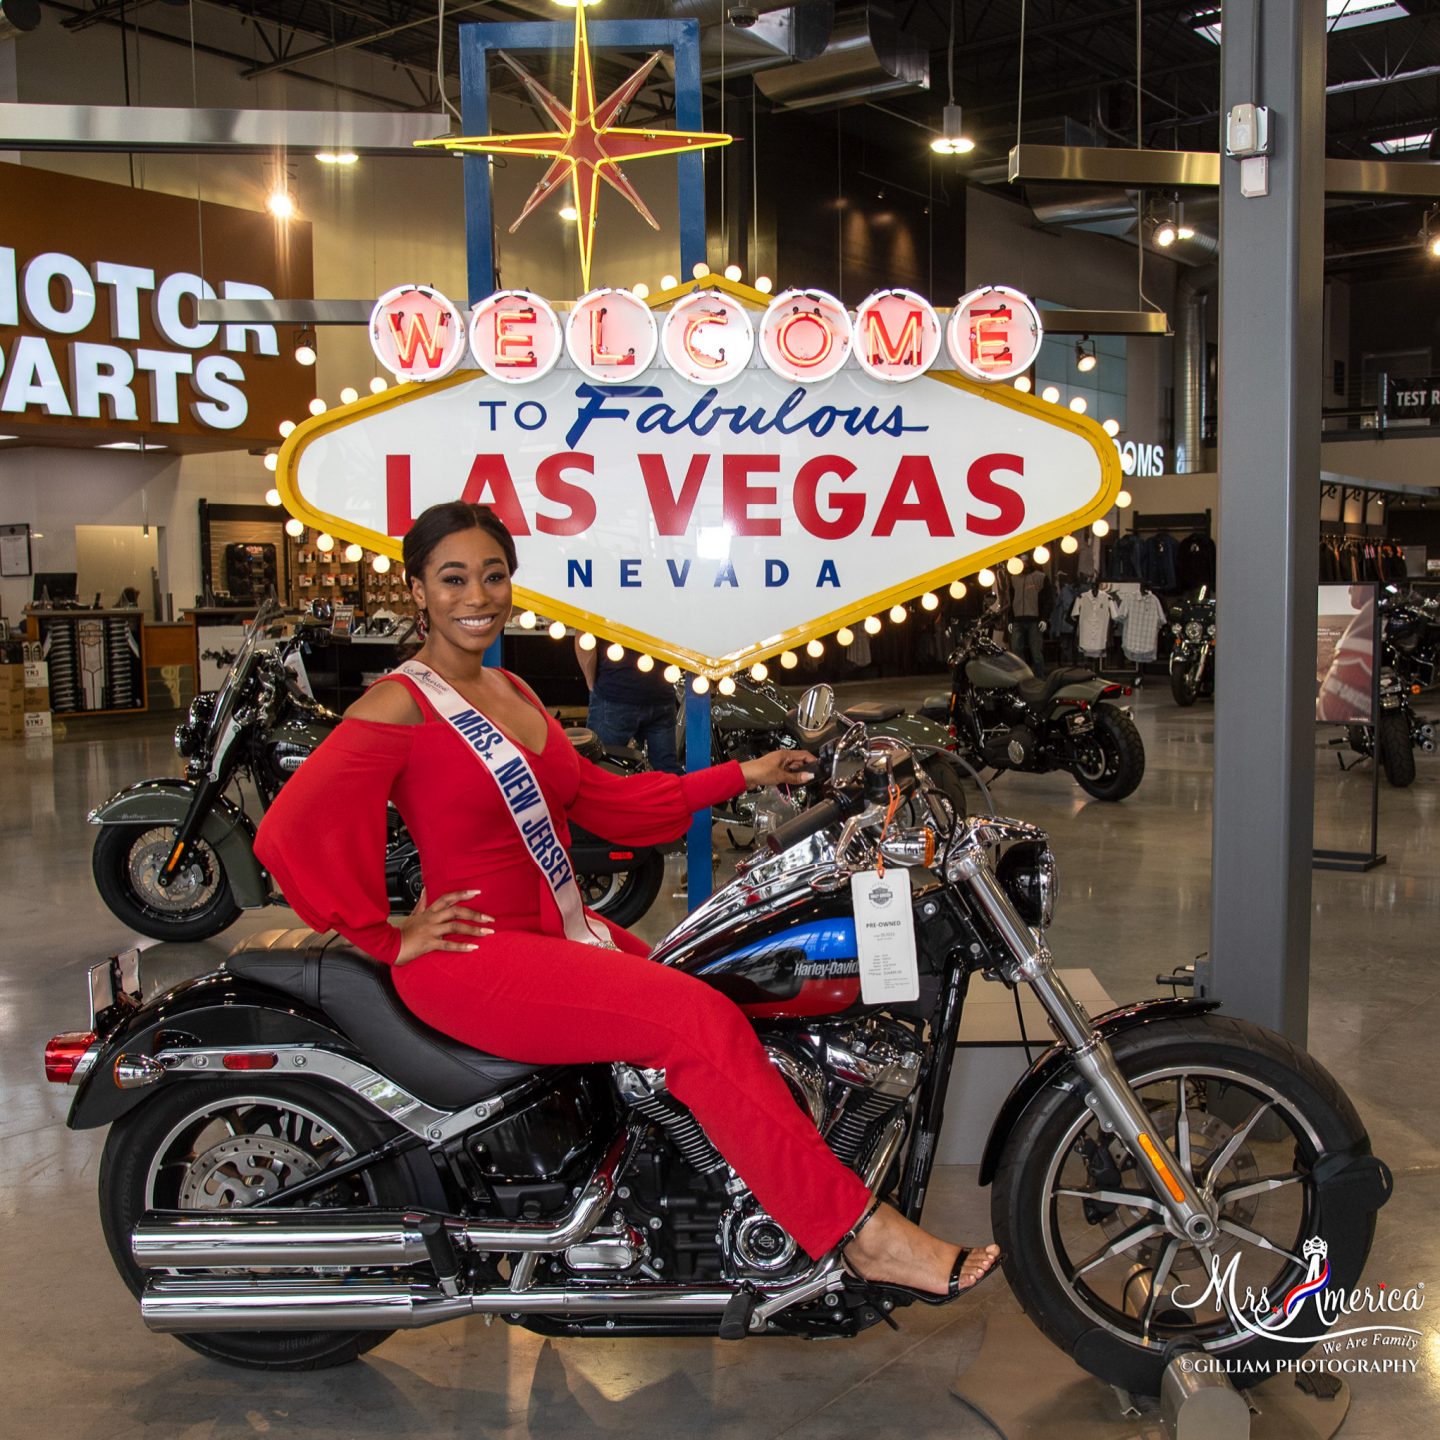
Let’s kick off this week with some pageant talk. I have the pleasure of representing the state of New Jersey in this year‘s Mrs. America pageant. In a little over a week I will be traveling to Las Vegas Nevada to compete. So it hit me, I should not only share my experiences and this journey with you all I also wanted to share the many ways I prepare for this pageant. Today I am going to list my complete and detailed pageant checklist. This will include everything a pageant queen will need while competing or traveling to compete in your next pageant. I also have a FREE downloadable for you to use as well. VIEW POST
3 Reasons Why Protective Hairstyles Don’t Grow Your Hair
Protective styling on natural hair is crucial for maintaining the moisture, length, and longevity of a hairstyle. When done correctly, protective styles have been known to show massive improvements on the hair and scalp. As well as maintaining and defining curl patterns. Many women also see massive improvements in the growth and thickness of the hair. On the other hand, when done incorrectly protective styles can cause extreme hair loss. The reason protective styles don’t grow your hair is that they are often too tight, require too much manipulation to the hair, and promote lazy hair care practices.
Tight
Tight hairstyles cause a slew of issues on natural hair. The first being that they are extremely uncomfortable. For many years women were under the impression that if the hairstyle was tight it was right. Have you ever heard the impression “If it ain’t tight it ain’t right”? I sure you have, and I myself have even heard my fellow hairstylist say it as well. Insert cringe face. The last thing you want is to be uncomfortable trying to look cute. Again, I’ve been there. Secondly, tight hairstyles cause scalp irritation and hair loss.
Traction Alopecia is hair loss attributed to pulling and tugging of the hair. This includes styles like ponytails, braids, extensions, and more. This is the number one reason I have requested consultations for hair loss at my salon. The consent pulling and tugging on the hair causes the hair to break at the roots. In many cases, traction alopecia can be permanent due to the damage of the hair follicle. Be mindful of this when selecting your next protective hairstyle.
Over Styling
As a stylist I love to change up my look quite often to experiment and express myself creatively. There is something therapeutic about changing your hair to fit your mood or even your outfit of the day. So I completely understand the need to switch it up. Just make sure you don’t switch it up too much or you will also snatch it up also. Your edges that is. When protective styling one must be cautious to avoid over styling. Too much manipulation can cause excess tension and breakage on the hair.
This is due to the hair becoming dry and the scalp becoming sore. Also, the excessive combing and brushing of the hair leaves your strands prone to breakage as the hair dries out from all the styling products. For natural hair protective styles I recommend you style once a week. This includes finger detangling, retwisting, co washing, and applying moisturizer to the hair. If you are someone who prefers to wash and style every two weeks then I would recommend you restyle and hydrate your hair 2-3 times within a two week period.
Don’t Be Lazy
Natural hair has a tendency to make you become a bit lazy when it comes to hair and scalp health. It’s very easy to forget to moisturize your hair when in a protective style or even neglect your hair all together. Think about how often you wash your hair with braids or two strand twists. Do you wash and moisturize your hair each week? When I ask my clients this question in most cases the answer is no. Because these styles are low maintenance you become very lax in the treatment of your hair and scalp. This is a huge no no.
Let’s not get lazy with our protective styling. The goal is always to grow healthy hair as well as sustain the growth we already have. In order to do this we must become regimented in our haircare. This means creating a schedule of when you’re going to washm condition, and moisturize your protective style. I have even gone as far as to set alarms on my phone to help remind myself to apply scalp treats and conditioners to my hair while protective styling. It has helped me stay on track with my hair care. You will be surprised what you neglect when busy, stressed, or tired. It’s usually your own self care. Now is not the time to get lazy.
This also takes me to my next point. Do not leave your hairstyles in for extended periods of time. Not only is it unsanitary. It can cause so many scalp issues from overgrowth of bacteria to hair loss. SEE HERE. You may also see an excessive amount of hair loss due to breakage while detangling. Matting of natural hair is real and if I can give you just one tip in this post it would be. Detangle your hair completely before shampooing. TRUST ME. Natural hair can matte up quickly and I have seen women who leave their hairstyles in for too long and try to remove them and boom. Matting and breakage have occurred. You spent months trying to grow your hair and in a matter of minutes, it starts to break off.
Another great practice when removing your protective style is to rehydrate the hair. I wouldn’t suggest water for this step. I recommend hair oil or butter. It works great to provide the hair with enough slip to unravel the hair as well as provide a protective coating to the hair while detangling. In many cases, the breakage is experienced when removing a protective style id due to the hair being overly dry and brittle. Hair oils and butters rehydrate your strands for safe style removal.
The key takeaway is protective styling is not a miracle to hair growth. You must still have a hair regime in place to help nourish your hair and scalp. As well as maintaining balance while styling your hair. Protective hairstyles that are too tight, done too often, and left in too long will short-change your hair growth results.
What Are The Benefits Of Shea Butter On The Hair
You usually hear about all the wonderful benefits of shea butter on the skin. Used to help heal and soothe the skin from eczema, stretch marks, and much more shea butter is a natural remedy for healthy skin. The benefits also extend to healthy hair as well.
Shea butter is rich in essential fatty acids and vitamins such as A & E to help hydrate and seal in moisture into the hair. Shea butter prevents split ends and breakage that keeps the hair soft and subtle.
What Is Shea Butter
Shea butter is fat. The fat is extracted from the shea tree (Vitellaria paradoxa) and is vegan. It can be found in an off white or ivory tone when it’s in its raw form. It is commonly found in a yellow color after being dyed with borututu or palm oil. You will find shea butter used in a variety of products from cosmetics to even food. We will be discussing the uses and benefits of using shea butter on the hair.
Raw Vs UnRefined
When using shea butter for the hair and skin you have the option of using raw or unrefined shea butter. If you prefer to use shea butter holistically raw shea butter would be your best bet. It will be in its purest form and is a great base for adding other ingredients. Since we are discussing the benefits of shea butter on the hair I recommend using unrefined shea butter. It is nutrient-rich just like raw shea butter however it is softer. When using shea butter on the hair you want the products to melt into the hair and scalp for an easy application.
How To Use On The Hair
I use shea butter on my hair and skin. As mentioned previously, shea butter comes in many forms. I like raw shea butter for my skin and I use refined shea butter in my haircare products. I have a hair butter tutorial HERE on the blog for reference if you are interested in how I make my own hair care products. The great thing about making my own hair care products is that you can add so many things to it. There are a ton of natural additives and essential oils you can use to customize your hair care needs.
How to prepare Shea butter in order to apply to the hair.
- Take ¼ cup of raw or unrefined shea butter and place it in a bowl to melt. (Amount will vary based on hair texture and density).
- Place a pot of water on the stove and add the bowl with shea butter on top of the water. Do not boil the water. You don’t want to overheat the shea butter.
- Let it melt on low heat for 10 minutes until it is in a liquid form. Allow the product to cool before applying to hair or scalp.
- Optional: If you want to add essential oils to your mixture do this once the shea butter is cooling off. My favorites are Lavender, Peppermint, & Rosemary. I also have an article on how I make my own scalp oil HERE.
Shea Butter Benefits For The Hair
How To DIY Shea Butter And Aloe Vera Hair Moisturizer
My mission this year is to really take care of my hair. I mean take great care of my hair. It’s funny, like most hairstylists my hair is usually last on the list to get pampered and my goal is to even the playing field. I have been busy in my kitchen creating tons and tons of hair recipes for my natural ladies. My goal is to make haircare more assessable to everyone. With this, I will be sharing some of my recipes here and on my YouTube channel. Below, I’m going to share with you my DIY shea butter and aloe moisturizer.
Natural hair needs a bit more love and care as it tends to be dry and prone to breakage. So with this butter, you will be able to coat the hair and allow the vitamins from the shea butter to prevent hair breakage. I have been loving the aloe vera scalp oil I created in my previous post. However, I wanted to also create a creamy hair conditioner for my strands. Remember, the key to natural hair is to retain as much moisture as you can. This butter is sure to lock in moisture and hydrate the hair for weekly maintenance.
Here are all the products you will need:
Shea Butter: https://amzn.to/3qJ03Bf
Coconut Oil: https://amzn.to/3sL8kGG
Fresh Aloe
Peppermint Oil: https://amzn.to/3nVWs0I
Lavender Oil: https://amzn.to/3sG3dYb
Shea Butter Benefits
- Prevents hair breakage
- Reduces scalp irritation
- Full of essential fatty acids Vitamins A,E,F
- Penetrates the hair shaft
- Heals eczema
- Antioxidant
- Heals the scalp and skin
Aloe Vera Benefits
Aloe Vera does the following:
- Soothes redness
- Eliminates itchiness
- Removes dandruff
- Fights bacteria on the surface of the scalp
- Heals open sores and scratches
This DIY shea butter and aloe vera hair butter can actually be used on the skin as well. However, I would skip the last few step in this recipe to prevent skin irritation.
Let’s Get Mixing
I recommend you apply this butter to your hair at a minimum of once a week. This will vary depending on your hairs texture and moisture levels.
If you would like to make the scalp oil I featured in today’s video I also have a step by step tutorial. You can view that article and video tutorial here.
How I Make My Peppermint And Aloe Vera Scalp Oil
Over the past five years, I have been in my kitchen creating my own hair care products. I even sell some of them in my salon and here on the blog. (Currently sold out). When I started making products I set out to address some of the most common scalp issues I see with my own clients. I showed you in a previous blog post HERE one of my clients with an extreme case of seborrheic dermatitis. The aloe vera and peppermint scalp oil I’ll be making in today’s post is one of the many products I use to soothe and heal the scalp.
For today’s recipe you will need the following.
Fresh aloe vera plant
This recipe is beginner friendly and you will learn the basic ingredients to use when formulating your own hair care products in the future. I will further explain in the video why I choose these ingredients and the importance of using essential oils on your scalp.
Why Aloe Vera On The Scalp
The healing benefits of aloe vera are unmatched. My grandmother used to cut fresh aloe vera plant and apply it to the scraps on my knees and elbows when I was a child. It was amazing to see the scars fade away and think it was magic. As an adult, I now know it was a bit of magic because aloe vera is spectacular.
I use fresh oil vera from the plant on the scalp if I’m experiencing extreme itchiness. This is usually during the winter months when my skin is trying to adjust to the weather changes.
Aloe Vera does the following:
- Soothes redness
- Eliminates itchiness
- Removes dandruff
- Fights bacteria on the surface of the scalp
- Heals open sores and scratches
In combination with any essential oil such as peppermint you can rest assured your scalp will feel amazing after using it. You will feel as if you visited the spa after using it.
Peppermint Oil does the following:
- Elivates itchiness
- Helps muscle pain
- Relaxation
- Promotes blood flow to the scalp
- Soothes the scalp
Below you will find my step by step tutorial on how I make this scalp oil and use it on myself as well as my daughter. I also have a really fun hair recipe coming up later on the blog so make sure you sign up for notification on my latest blog post.
- « Previous Page
- 1
- …
- 18
- 19
- 20
- 21
- 22
- …
- 34
- Next Page »