• Home
  • About
  • Beauty
  • Fashion
  • Lifestyle
  • Pageantry
    • International Mrs USA
    • Mrs. New Jersey America
  • Girl YES
  • Media Kit

Chimere Nicole

Beauty Fashion Lifestyle Blog

20 Secrets: Things Your Hairdresser Wants You To Know

December 16, 2020 beauty

As I’m finishing up my last client of the day she says something to me that made me think. She says “We tell you everything about our lives and yet I’m sure there are things you want to tell us about yours”. I laughed it off because sure, my clients tell me everything. The good, the bad, and the ugly. But sometimes there are things we want to tell our clients that we keep to ourselves. It’s not about the kids or what we did that Saturday night. It relates more towards things we want to tell them about their salon visits. This is about to go left really quickly, I can feel it lol. But the bible says, “The truth shall set you free”. Today it shall as I share 20 things your hairdresser wants you to know.

I stand in solidarity with my fellow salon workers to tell you some hard truths. I know I’m being melodramatic here but I speak for many when I say we are thinking it and don’t say it. Sometimes we say it and it goes in one ear and out the other or it’s taken the wrong way. The purpose of today’s post is not to make you feel bad or indifferent. It’s to educate you and to make your salon visits as pleasant as humanly possible. The things your hairdresser wants you to know can be very subjective and can vary from stylist to stylist. I’ll just say this, I have a great relationship with the patrons of my business and an open communication policy. This is not always the case.

20 things your hairdresser wants you to know

So I want to list a few things your hairdresser wants you to know with the hopes it creates an open dialogue. Again this list is very subjective and it is based on years of salon experience. These are also things I and fellow stylists have discussed. I will try to keep this list as general as I can. Take my word for it, I cut this list down quite a bit. 

20  Things Your Hairdresser Wants You To Know

  1. The client is not always right.
  2. Pictures are for reference, not a duplication.
  3. Do not show up late and empty-handed lol, we love coffee also. 
  4. Please respect our time. The doctors charge for no shows, so can we.
  5. Please don’t tell us how to do our jobs, if you knew what you were doing you wouldn’t pay us. 
  6. Just because the information is on YouTube this does not make it right. Have you ever seen the videos of people burning or over bleaching their hair?
  7. Please don’t talk on the phone while getting your services done. This is a time to relax and decompress for everyone around you. Be courteous.
  8. We aren’t upset, we are HUNGRY. We often don’t eat. Think about this next time you’re running late.
  9. We have lives and don’t work around your schedule.
  10. Gratitude goes a long way, 
  11. Sit still, if you want your haircut straight stop moving.
  12. Your hair appointment is for you, come alone.
  13. Sometimes your relationship drama is too much.
  14. A trim and a hair cut is the same price.
  15. Clean up after yourself, we aren’t maids
  16. No, I can’t squeeze you in.
  17. We appreciate tips more than you know. 
  18. Ask us how we’re doing, were human too
  19. We are creatives and sensitive about our work. 
  20. Trust our judgment. We are trying to bring out the best in you. 

As I mentioned earlier, this list can go on and on. 

Bonus Tip

Learn to hear the words No. If your hairdresser truly cares about you and that’s pride in their work they will tell you NO. I’m laughing while writing this because my clients are well aware, I will tell them no and smile while doing it. It took me years to work up the courage to do so and now it feels liberating to say no and mean it. You want highlights but don’t take care of your hair, NO. You’re requesting a relaxer after scratching your scalp, NOPE. You bleached your hair the day before and want it redone today, KEEP DREAMING. And the most famous, you’re going through a breakup and want to cut your hair and dye it to mimic Skittles. Maam, that’s also a no.

Let me reiterate, we are not trying to be mean or disrespectful. We are trying to do what’s best for you and if a no means saving your hair strands then so be it. 

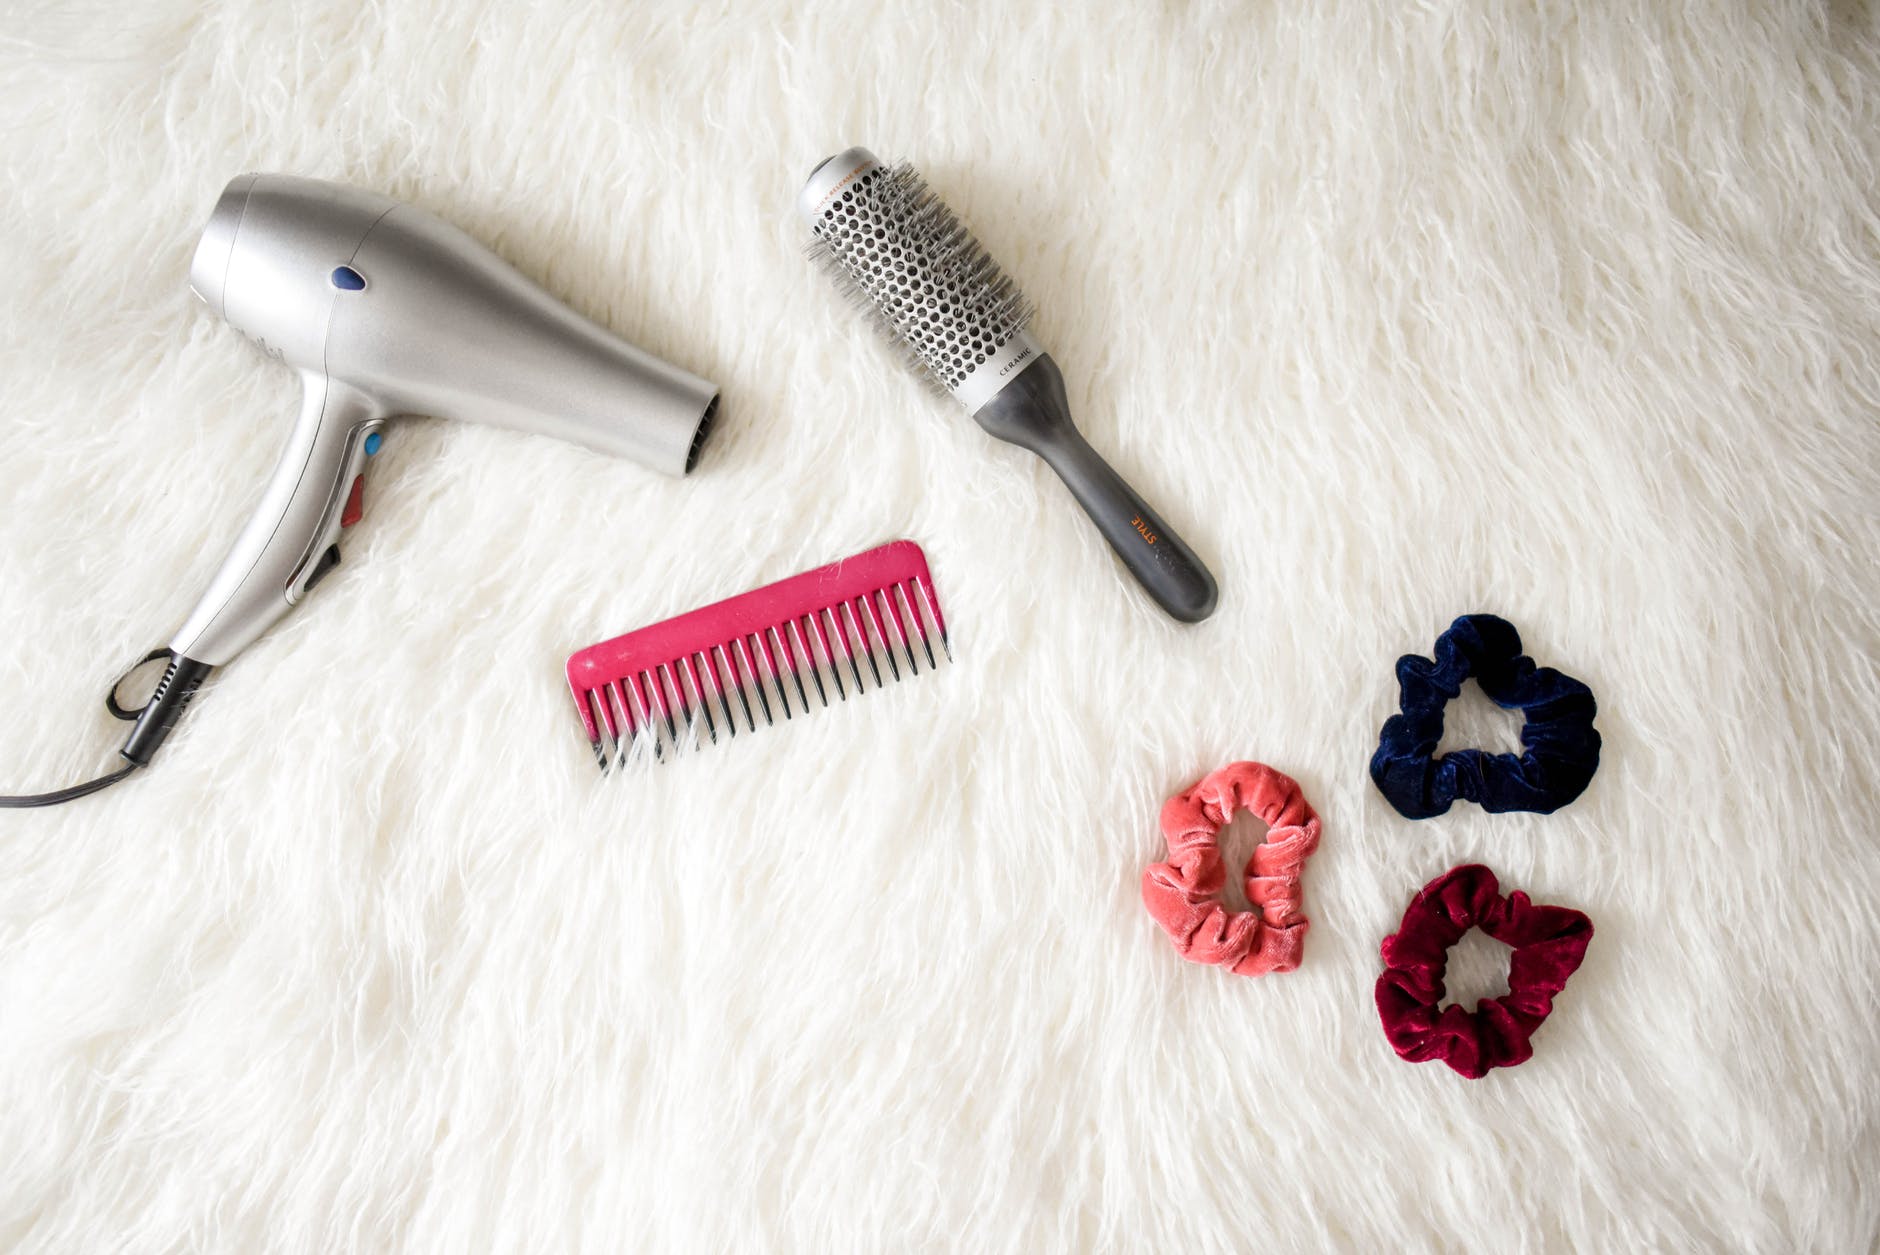
No I know this was a lot of hard truths shared here today and you might have said ouch a few times. It’s ok. The more you know, the more you grow. In the event, you like to maintain your hair at home like many of my clients do, be sure to read up on some of my favorite shampoos HERE. I also shared my favorite styling tools HERE. 

How To Blow Dry 4C Hair Without Heat Damage

December 15, 2020 beauty


grey hair blower near pink hair combs and scrunchies
Photo by Element5 Digital on Pexels.com

A friend of mine came to me because she wanted to cut back on her salon visits and save money. Times are hard for many and she wanted to achieve the salon look at home. She, like many others, has textured hair and needed a few tips. I wanted to help her learn to blow dry 4C hair without heat damage. 

The key to blow drying 4c hair without heat damage is to stretch the hair while blow drying. Also applying heat protectants with humectants to lock in moisture and eliminate frizz; natural hair oils help to protect seal the hair cuticle.

Tips For A Great Blow Dry

In order to have a great blow-dry, you have to have the right tools. The blow dryer I recommend to all my friends is the Conair Yellow Bird. I recommend this blowdryer in particular because it’s lightweight and very powerful. It comes with two attachments which include a nozzle and comb. If you have a hard time using the nozzle with a brush to blow-dry. The comb attachment is your new best friend. It works well with all hair textures, not just 4C hair. In my early salon days, I couldn’t afford the blowdryers all my co-workers were using. They were often over $100 and to be honest weren’t even that great. Imagine their surprise when I pulled out this bright yellow blow dryer and achieved better results as a new stylist. Let’s just say they all asked where I purchased it and ran out to get one.

best blow dryer for natural hair

My favorite blow dryer is the Conair Pro SilverBird Turbo Blowdryer. This is the big sister to the Yellowbird I mentioned previously. I love this blower. Yes, I even use it in the salon and at home. It comes with a comb attachment to help blow-dry the hair faster. I have used it in a few of my hair tutorials HERE. This video is a great way to see the blow dryer in action and to see how well it is able to stretch my hair for an amazing silk press or any other hairstyle I choose to achieve. 

best blow dryer for 4c hair

Picture Tutorial

While styling a client’s hair I got the bright idea to take a few pictures so that you can see the process of stretching and blow-drying natural 4C hair. I will show you a few steps to achieving a great blow-dry. I’m aware the quality of these photos isn’t the best however it was a  busy afternoon. Unfortunately, I decided last minute and on a whim to take pictures for you. I hope that these pictures provide you an idea of how easy it can be to achieve a great blow-dry at home. 

 4C hair
Clients hair after wash and conditioner
section hair for blow dry
Hair is placed in 4 sections
 3b hair
Take a inch width section
blow dry hair without heat damage.
Stretch the hair WITHOUT using a brush
step by step guide to blow hair without heat damage.
Blow dry hair in a downward motion. Continue to pull hair downward to stretch.
stretching natural hair
Once 50% dry you can use a brush and nozzle to finish.
4c hair after silk press
Clients hair after silk press.

By following this method it will ensure you can retain the length and thickness of your hair. It also prevents heat damage. In order to blow dry 4c hair, you have to be patient and work in small sections. As you can see from the pictures above this client has quite a bit of hair. In order to save time while blow-drying the hair, it’s best to detangle first then section off.

The reason I don’t recommend this one as often is that it is a bit hotter than the Yellowbird. It is a salon grade and it can be hard to gauge how hot it needs to be for a proper blow-dry. I’ve seen stylists use this blow dryer wrong and cause heat damage. Additionally, the Silver Bird is heavy. If you are using it on yourself you will notice very quickly how heavy it gets. My arms are conditioned at this point to hold heavy blow dryers but trust it even starts to hurt my shoulders. 

How to stretch the hair

Stretching your hair for a blow dry before and during the process is a great way to avoid excess heat to the hair. 

You can achieve this the following ways:

  • Twisting 
  • Braiding
  • Wrapping with String

These techniques allow the hair to partially dry and the hair to flat on the scalp. This cuts your drying time in half and stretches your curls with added heat or excessive tension. 

Using these methods to stretch your hair I recommend that you use small sections of hair. Also, I recommend that you put your hair into small ponytails at the root and then continue to twist, braid, or wrap your hair. This will allow you to moisturize each section of the hair as well as detangle your hair properly.  Detangling is key to retaining length width in your hair.

What heat protectants To Use

Heat protectants come in many forms. You can use cream, lotion, sprays, serums, and oils. It is hard to recommend a heat protectant without seeing and feeling your hair texture however what I can say is no matter which form of heat protection you decide to use make sure that you thoroughly saturate each strand of your hair. The key to using heat protectants is to be consistent in their usage and to make sure that they are applied properly. In my experience spray heat protectant works best with all hair textures. They tend to be lighter and do not weigh the hair down as much as serums, creams, and lotions. I will list my favorite spray heat protectant below for you to research.

Tried and true heat stylers

Now that you have properly  stretched and blow dry your hair it’s time to move on to styling. If you have 4C hair you may tend to style your hair naturally and it’s stretched state or you may want to move on to heat styling. 

One of my favorite hairstyles for natural hair is a silk press. This is when we take a flat iron and smooth the hair strands to a silk-like texture. It is a temporary style and once you wash your hair your natural curls will revert back. This is why heat protectants are so important. When doing a silk press on natural hair it requires heat in order to straighten your natural curls. Over the years I have used hundreds of heated tools to achieve this hairstyle. In a previous post, I shared with you my favorite flat irons to use at home and in the salon. I will leave a link here for you to read up on my favorite styling tools to achieve this look. I hope this post helped you learn to blow dry 4c hair. These techniques can be used on all hair types.

Next Up: Best Flat Irons For Natural Hair

The Best Flat Irons For Natural Hair

December 14, 2020 beauty

Natural hair is versatile. It can be worn twisted, braided, curly, and even straight. Straightening your curly strands is a huge undertaking and I would be remiss  If I didn’t recommend you see a licensed hairstylist for this service. I mean, I am a professional here. But for my readers who know their way around styling tools today, I want to recommend a few brands I know will get the job done. Don’t get me wrong, if done incorrectly, silk pressing your natural hair can cause your hair to lose its curl pattern, dry the hair out, and cause permanent heat damage. This is why I recommend a professional stylist. They are familiar with flat irons for natural hair and how to use them.

A professional stylist will be better suited to give you a consultation on your hair type. Some hairstylists like myself even show you how to properly silk press your natural hair. Or you can just watch in the mirror. This is also a great way of keeping your head up when getting your hair down. Your stylist will thank you for this lol. The key takeaway is, learning is key, and having resources and recommendations can help save your strands in the long run. Not to worry, you can learn the proper technique to do it yourself at home. If you invest in great tools you won’t need to see your stylist as often. Technique and tools are your focus. I will be sharing my favorite flat irons for natural hair.

flat irons for natural hair 4c

Three Things For A Perfect Silk Press

Silk pressing natural hair requires three things. Patience, a great blow out, and amazing styling tools. The flat iron used for natural hair will be 50 percent of the result achieved. The other 50 percent will be calculated based on the technique used. If you would like to see my previous hair tutorials of me silk pressing my own natural hair I will leave those HERE.  I myself have gone through hundreds, YES hundreds of flat irons in my career.

In my business, I offer this service to my clients daily. I would like to think I have a great understanding of which flatirons make the cut. All of the brands I will be sharing with you today are brands I personally own, have used in the past, and or currently use in my salon to silk press my client’s hair. In the event you are new here, I own and operate my own multicultural salon in New Jersey. You can read up on all those wonderful details on my about page HERE.

What should you look for when purchasing a flatiron for natural hair?

If you’re in the market for a new flatiron and don’t know what to look for, here are some of my must-haves. I will have my favorite flatirons listed below.

  • Adjustable temperature controls.
  • Quality plates. Ceramic, Titanium, Ion, etc
  • Manufacture warranty (trust me on this)
  • Ability to reach 430F- 450F
  • The flat iron size should be one inch thick. Size matters.
  • Outer material is heat resistant.
  • Not to heavy
  • Tip: Don’t buy the pretty design flat irons. The designs start to burn and turn brown from the heat and usually cost more for the packaging. 

Here my top flatirons for natural hair.

Babyliss Nano Titanium Pro

Fhi Platform

Bio ionic 10x flat iron

Chi Original

HSI Professional Glider Ceramic Tourmaline Ionic Flat Iron Hair

NuMe

Express Ion Smooth + XL Styling Iron 1.5 Inch

Hot Shot Tools

Paul Mitchell Neuro Smooth Flat Iron

Kipozi

Remington Pro 1

As I stated previously, you have to make sure you take the proper steps to prepare the hair for heat styling. This also includes how the hair is cleansed before styling. Make sure you reference my top shampoos for natural hair HERE.

The Best Deep Conditioners For Natural Curly Hair.

December 13, 2020 beauty

I have raided my beauty closet and salon dispensary to bring you the best deep conditioners and mask for naturally curly hair. These products are sure to give you proper PH levels, moisturize, and leave you with healthy, shiny hair. Even if your hair isn’t curly, you may be in need of conditioning treatments to help stop shedding and breakage this list is for you.

The best deep conditioners and masks for naturally curly hair will have the ability to moisturize, hydrate, and define the hair. It will provide natural luster and slip to the hair and make styling more manageable. Here are the top 20 conditioners and hair masks for natural hair. 

I have personally tried all the conditioners on these lists and offer them with services in my salon. So I can vouch for their validity. Some affiliate links are used throughout this post however if you’ve seen my YouTube videos you have seen me use them on my hair. 

best deep conditioners for natural curly hair

Top Ten Best Deep Conditioners 

  1. KeraCare Humecto Creme Conditioner
  2. ORS Replenishing Conditioner
  3. As I Am Hydration Elation Conditioner
  4. Mielle Babassu & Mint 
  5. Miche Protein Deep conditioner
  6. Aunt Jackie’s Grapeseed Quenching Conditioner
  7. Kinky Curly Knot Today Conditioner/Detangler 
  8. Jessicurl Weekly Deep Conditioning Treatment
  9. Motions Moisture Silk Protein Conditioner
  10. Nexxus Humectress Ultimate Moisturizing Conditioner

Top Ten Hair Mask

  1. Not Your Mothers Naturals Matcha Green Tea & Wild Apple Blossom Nutrient Rich Butter Masque
  2. Afro Love Hair Soufflé Mask
  3. Bomba Curls FORBIDDEN HAIR MASK
  4. Carol’s Daughter Coco Cream Curl Quenching Mask
  5. Blueberry Bliss Repair Mask
  6. SheaMoisture Jamaican Black Castor Oil Strengthen & Restore Treatment Masque 
  7. Mielle Rosemary Mint Strengthening Hair Masque
  8. Cantu Grapeseed Strengthening Treatment
  9. BRIOGEO Don’t Despair, Repair
  10. Uncle Funky’s Daughter Heal & Renew Intensive Hair Masque

How To Prevent Dry Hair

 Try to look for some products with Dimethicone. Dimethicone is often found in all of the best deep conditioners on the market. This ingredient will sort of coat your hair shaft and really helps to protect it so that moisture doesn’t escape.  In addition to rinsing with cool water. More on that topic later in this post. Many of us believe that washing our hair more will help keep the hair healthy when in fact it actually dries the hair out. Try not to use heavy soaps and shampoos to wash your hair and minimizing don’t wash your hair every day. I have a complete list of hydrating shampoos HERE. Wash your hair every third day or bi-weekly depending on the texture.

Conditioning is a very important step to really keep the moisture in your hair but you don’t have to spend a lot of money on conditioners. There’s a lot of at-home products things you can find in your pantry to put moisture back in your hair. Look for any of those really oily products like coconut oil,  jojoba oil, avocado, egg, butter, and olive oil. All these things are really wonderful for moisturizing and they can really help to retain the moisture in your hair. 

Best Practices

Trim Your Ends

So many are a little fearful of cutting their hair. Trimming your hair is important because it removes split ends. If you allow split ends to remain it will slowly move up your hair shaft. Thus extending the damage. I recommend you trim your hair at least every 8-12 weeks. Especially if your hair is color or chemically treated. The longer you wait to have your ends trimmed the more your stylist will have to cut in order for your strands to look healthy again. Trust me, you do not want this to happen. 

Comb Conditioner Through For Even Saturation

In order for your conditioner to work properly, it must be applied correctly. Once the hair is thoroughly shampooed and detangled you can apply the conditioner of your choice. Section the hair then apply the conditioner from root to tip. Once the conditioner has been applied, take a wide-tooth comb, and make sure each strand of hair is saturated. This is the keep to a great conditioning treatment. Follow the instructions listed on the package for treatment duration. 

Use A Heated Cap

Most conditioners work best when the cuticle of the hair has been opened. This can be done with warm temperature water and or a heated cap. By sitting under a hooded dryer will allow the conditioner to penetrate the hair shaft to moisturize and repair. If you don’t have a hooded dryer you can create a heated cap using a warm towel and a plastic cap. Click here for a video tutorial on how to deep condition at home. 

Rinse Conditioner In Cool Water

To seal in the moisture you want to rinse the conditioner in cool temperature water. This will lock in moisture and hydration and help with the luster of the hair. You don’t need the water ice cold just not warm enough to open the cuticle. Remember, we are trying to lock in the moisture at this point. 

Tip: If the hair feels like wet noodles you likely still have product left in your hair. Yes, the conditioner will soften the hair but not to the point of feeling like silk. Please be mindful of this when rinsing out your products. 

Moisturising Ingredients To Look For:

  • Water
  • Aqua
  • Cetearyl alcohol 
  • Cetyl Alcohol 
  • Stearyl alcohol 
  • Stearic acid 
  • Glycerin(e)
  • Glycerol
  • Glyceryl triacetate
  • Urea
  • Palmitic acid 
  • Oleic acid 
  • Polyquaternium
  • Propylene glycol
  • Sorbitol
  • Alpha hydroxy acids
  • Pyrrolidine carboxylic acid 
  • Lactate 

Conditioning Mask Ingredients To Look For:

  • Wheat protein 
  • Amino acids
  • Collagen 
  • Cholesterol 
  • Keratin 
  • Panthenol
  • Soy protein 
  • Milk protein
  • Animal protein 

The best deep conditioners work in conjunction with great shampoos and a consistant wash routine.

Next: Best Shampoos For Natural Hair

How To Remove Seborrheic Dermatitis At Home

December 13, 2020 beauty

I’m sitting in my salon and a new client came walking in and asked me a really great question. She had been suffering from a dry scalp and needed some help. She asked, how do I remove seborrheic dermatitis at home? 

To remove seborrheic dermatitis you will need to use a medicated shampoo. Ketoconazole shampoo is an antifungal medication used to treat infections on the scalp. Ketoconazole 2% shampoo should be used on the affected area 1-2 times a week. 

What Is Seborrheic Dermatitis

Seborrheic dermatitis is also called dandruff, eczema and psoriasis of the scalp. In infants, seborrheic dermatitis is commonly known as cradle cap. This causes a crusty, scaly, and itchy patch to develop on the scalp. Seborrheic dermatitis is a common skin condition that mainly affects your scalp. It can however be found in other areas of the body. It can appear as red skin and stubborn dandruff. Seborrheic dermatitis can also affect oily areas such as the face, sides of the nose, eyebrows, ears, eyelids and chest.

Dermatitis can go away without treatment however, on the scalp it is more likely you will need to address and treat the problem. You may need many repeated treatments before the symptoms go away completely. The best treatment so far has been using ketoconazole shampoo. 

How to use Ketoconazole Shampoo

Ketoconazole shampoo should be used every time you wash your hair. You will have to get a prescription from your doctor in order to use Ketoconazole shampoo in 2%. because this is a prescription shampoo. I will also give you over the counter options later in this post.  Because I work with clients who have curly and kinky textured hair this usually amounts to once or twice every two weeks. So depending on your hair texture that will determine how often you use the shampoo. 

From my experience, I like to use the first leather with my normal shampoo. This can be a clarifying shampoo to remove product build-up or it could be a shampoo that is designed for color or chemically treated hair. Typically I use Ketoconazole shampoo on the second ladder. Again this is after I have removed products and dirt from the hair. I applied shampoo to the hair working it through from the roots to the ends. then I let the shampoo remain on the scalp for 3-5 minutes.  I rinse with cool water and apply a conditioner. Depending on the severity of the client’s seborrheic dermatitis I will then use a scalp oil to soothe the scalp and to prevent a recurrence of dermatitis. 

Before And After Treatment

I wanted to share with you some before and after photos of one of my recent clients who suffer from seborrheic dermatitis. I know these images may be triggering to some however, I want to give you hope that removing seborrheic dermatitis can be done. Even in cases like this where the scalp is completely covered and overgrowth has begun. Again, this is a severe case and this client required a pre scalp treatment before applying shampoo to the scalp. 

These first few photos are after I removed the previous hairstyle which was braids. After removing the braids you can see the scalp is barely visible. 

Removing seborrheic dermatitis from the scalp
seborrheic dermatitis on the scalp

If you noticed from the photos they have quite a bit of scaly patches on the skin. The overgrowth of bacteria on the skin causes the hair to lay flat on the scalp and causes large scaly patches throughout.

 With this client, in particular, she required a light oil to the scalp to help loosen seborrheic dermatitis in order for me to remove it completely from the scalp. Once I  thoroughly sectioned her hair I used a clarifying shampoo to remove the oil that was used and then I followed the steps I mentioned previously. This includes two shampoos using Ketoconazole shampoo 2%.  As you can see from the following photo her scalp is now visible and is healthy pink and free of seborrheic dermatitis. 

This next step is optional but highly recommended for ALL HAIR TYPES. I apply a hydrating conditioner to the hair avoiding the scalp area. Remember the pores are open and I do not want to apply any products to clog the pores which will result in an overproduction of the seborrheic gland. This is the gland that produces natural oils on the scalp. Once the conditioner has been applied, I allow it to sit on the hair for 15 to 20 minutes then I proceed by rinsing the conditioner out with cool water. Read my tips below for tips on product usage. 

Over The Counter Options

Ketoconazole shampoo is not the only option when removing seborrheic dermatitis from the scalp. From my experience, this has been the number one option so this is why I highly recommended it. You have other brands of shampoo, antifungal creams, as well as pills to help remove seborrheic dermatitis. Some of these options do have side effects such as thinning of the skin and streak and lines appearing on the scalp.

This is the reason I prefer to use shampoo because it carries a lower risk of both of these side effects and is easy to apply. Antifungal creams and lotions aren’t suited to be applied to all the hair textures daily. I can speak for my clientele personally when I say curly and textured hair does not do well with applied creams and daily scalp serums. They often leave a residue on the hair and dry out curlier textured strands. 

If you do not have access to a prescription for Ketoconazole shampoo I would like to recommend a few over the counter products that I believe will work effectively. I have used these shampoos with great success and they are readily available. Check your local drug store and ask your pharmacist for more information on products that contain the following ingredients. 

  • Tar Shampoo –TGel
  • Salicylic Acid- Neutrogena TSal
  • Selenium Sulfide- Selsun Blue
  • Ketoconazole- Nizoral

Additional Treatments To Remove Seborrheic Dermatitis

Depending on how mild your seborrheic dermatitis maybe there are other shampoos that have active ingredients to help fight dry and itchy scalp.  I will also list these shampoos as well. The following are shampoos I use daily in my business and on myself. You may notice when the seasons change your skin and scalp start to get dry and flaky. These shampoos help to soothe the scalp. 

  1. Design Essentials
  2. Kera Care
  3. Paul Mitchel Tea Tree
  4. As I Am

Along with these shampoos, there are other over-the-counter products to help remove seborrheic dermatitis. Also, you can find treatments to use prior to your shampoo to help alleviate dry and Flaky scalp as well as treat seborrheic dermatitis. I know firsthand that these products work well when used in conjunction with a hairdryer or a heated scalp cap. if you are not receiving these treatments in a salon setting you can also purchase hooded dryers to use at home to make these treatments more effective. I highly recommend using a hooded dryer when applying products to the scalp as you need to open your pores for these products to work properly. Below I will list the scalp treatments that I have used in the past and currently on my clients to help treat seborrheic dermatitis prior to a shampoo service.

  1. Design Essentials-Scalp & Skin Care Detoxifying Tonic
  2. Mizani- Calming Scalp Lotion 
  3. Shea Moisture-  Charcoal Scalp Tonic
  4. Paul Mitchell- Tea Tree Scalp Treatment
  5. Ion- Healthy Scalp Exfoliating Scrub

 Natural Remedies

When my daughter started to experience a mild case of dermatitis on her scalp. It was decided to use products that were medicated because of her age and hair type. I wanted to remove the flakes from her scalp and help to soothe the itchiness. She often scratches her scalp to the point she creates scabs. One of the things I decided to do was create an aloe vera gel. I knew that if I applied it to her scalp it would help to heal the skin, alleviate the itchiness, and help to remove dandruff.

In this video tutorial, I will show you how I create this aloe vera gel. This is also a great product to use when detangling textured hair. If you have small children like myself this will make wash day so much simpler. Because there will be no tears from the tangling and the product feels great on the scalp.

What NOT To Do.

When you have dermatitis there are a few things that you should not do when trying to heal the scalp. My number one recommendation would be to stop the usage of any product that has alcohol in its ingredients. Alcohol tends to dry out the scalp and cause irritation to inflamed skin. This will include hair sprays, hair gels, some brands of hair color, and other styling products. I also no chemical treatments. This includes hair color, relaxers, or perms.

Here’s A Tip: If the first ingredient is alcohol throw the product in the trash immediately. Even if you do not have seborrheic dermatitis alcohol as the key ingredient is not good for the hair. 

I hope that this post helps you find ways to remove your Seborrheic dermatitis. If you follow the steps I mentioned above I’m confident that you will see results after your first hair wash. Also using the products I mentioned above. I would love for you to leave your feedback below. If you are looking for more hair care tips I will also leave more resources below. 

The Best Shampoos For Natural Hair|10 Reasons Your Edges Are Thinning and Breaking|How To Make Rice Water

  • « Previous Page
  • 1
  • …
  • 5
  • 6
  • 7
  • 8
  • 9
  • …
  • 12
  • Next Page »
Chimere Nicole Mrs. New Jersey 2020

JOIN THE LIST

LOOKING FOR SOMETHING?

ARCHIVES

- THEME BY ECLAIR DESIGNS -